Monday, October 31, 2011

My Husband's Halloween Projects


Today I present you with a couple of projects made by my wonderful husband.  Typically we joke that I make pretty things that serve no functional purpose, and he makes functional things that are often hideous ;)  Of course there are exceptions to this.

We had a carving kit from last year with patterns in it and he and our little girl liked this cat, so he carved it last night.  I'm impressed, that type of thing is not an area of skill for me.  We have an led light inside that changes colors.

Click on the photo to see it bigger.
Here are the cookie houses he decorated.  He found this kit one day at the grocery store and thought it looked pretty cool.  For the most part he copied the box.  The kids got to put the candy on top.  I was very impressed with how well he used the frosting, so I told him he is helping make the next birthday cake!  To be honest I think he is a lot more naturally gifted in this area than I am.

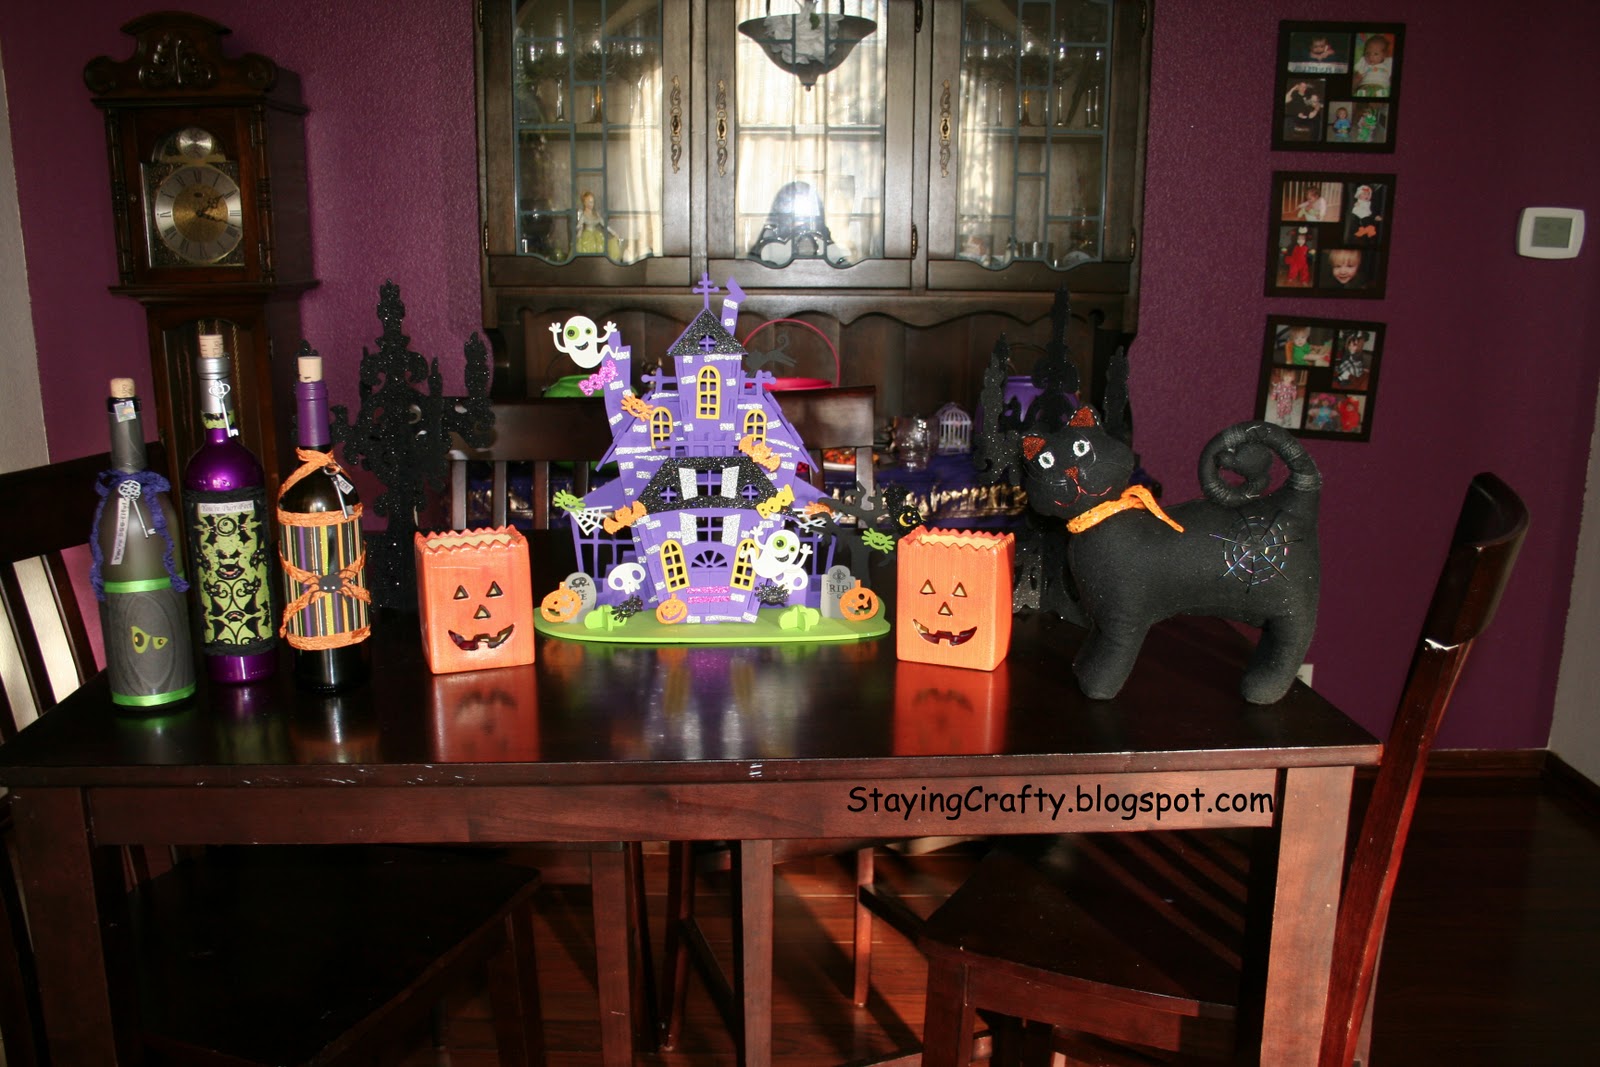
So, between my decorations and his we have a pretty awesome dining room for Halloween :)

Here's a quick photo of my set up if you haven't seen it yet.

Click on the photo to see it bigger.
I put together the house and decorated the wine bottles.

Have a happy, safe, and spooky Halloween from the Holders :)

Thursday, October 27, 2011

The Costumes I Made


Here's my little carton of milk and cookie for Halloween.

Unfortunately the cookie costume doesn't look very round when he wears it, but at least it is ultra comfortable b/c he is picky that way.  I hot glued the chocolate chips on.  I added pipe cleaners in the seams of all the edges that were open - arms, legs, and head.  Then I sewed the other sides together.  It looks round... until he puts it on!  *LOL*  At first I was actually pretty po'd but life goes on.  Live and learn.

My daughter's carton of milk came together really well.  Her hat is a spout.  It was very hard to get it to fold nicely - maybe it wasn't long enough.  I stapled it together on the backside and left the spout pushed out.  To keep it on her head is a strip of poster board that curves upward to fit the shape of her head.  Then I stapled elastic on for a strap.  The carton is super simple.  I used 2 pieces of poster board and folded them in 2 one big section, one medium section, and one small section (for gluing)  The straps are also posterboard just stapled on.  The word milk is from the Ashyln's Alphabet font by Cricut.  The cow is from the Create a Critter cartridge.

Not perfect, but original enough.  My daughter loves hers :)

Wednesday, October 26, 2011

Whimsical Wednesday Card


Happy Wednesday!

Today I have a fun little card to share with you.  I figured this would be fun to give someone with a nice mug and some apple cider or something else to relax and enjoy the crisp fall days with.

This is for the new challenge over at Whimsical Wednesday that starts today.  The lovely Cathryn came up with the challenge called Fall Cuties and you need to use an animal on your project.
 
I have a standard A2 sized card.

I got my adorable squirrel from Create a Critter and gave him some googly eyes.

I used some brown paper that reminded me of bark a little bit - seemed "woodsy" to me.

The gorgeous ribbon is Shabby Crinkled Ribbon from Prairie Bird Boutique.  This color was from the Little Boo set.  There are lots of gorgeous color combos to choose from.

The red paper sort of looks like leather or something.  Kind of a cool pattern.  I used my Stampin' Up Scallop Edge border punch along the bottom.

For the sentiment I used a stamp from Tanner, who calls himself Mr Cricut Crazy.  This is from his Summertime Fun set.  It is pretty cool for a young boy to have his own stamp line :)  They are top of the line quality too.  Be sure and visit his blog to see what he's been up to.

Make sure you check out Whimsical Wednesday today to see all the designer's sneak peeks and pay them a visit.  You can also enter your own project!  Super fun :)

Thursday, October 20, 2011

I Have a Post On Craft Junkie Too Today


My dear friend Tracy asked me to do a guest post on her Craft Junkie Too blog today :)  I shared my table of Halloween decorations and did a product review of a foam haunted house kit from Michael's.  If you want to read it check it out here.

Wednesday, October 19, 2011

Super Simple Scrappin'


Although I enjoy fussing over every detail with my cards I rarely do that on my scrapbook layouts.  Not sure why exactly.  Partly because the photos are the real star, partly because in a huge album of layouts I wonder how much one embellishment will stand out, partly because I get all frazzled and feel like I'll never have time to scrap all my photos if I spend too long on one layout.  *LOL*

So, today I present a super simple layout.  All the papers are from the DCWV Autumn Splendor stack that came out last year.

On the top of the layout I have strips that are 2 inches wide.  The paper has all kinds of words on it like "pumpkin picking" and "family outing" with lots of glitter.

Below that I have another strip that is 2 inches wide.  It's a brown gingham type paper.  I placed my title on it.  The title was cut from the Ashylyns Alphabet Cricut cartridge at 1.8 inches.  It's cut out of a polka dot paper.  The polka dots are teeny tiny, so they show up well on die cuts.

On the very bottom of the layout I have a strip that is 1 and 1/4 inches wide.  Yellow with some soft white flowers.

The main paper reminds me of growing grains or something.  I intend to lay 4 photos horizontally that measure 4 by 6.  They will cover both pages edge to edge to look like a continuous strip, to fit right in with the other long strips going across the pages.  When the photos are laid down there will be a bit of the "grain" paper showing on both the top and the bottom of the photos.

So easy, no stress!  By choosing all the papers from one stack and only die cutting a title I was able to whip this whole thing up from start to finish in about 15 minutes with no pre-planning whatsoever.  We are planning on going to a farm next weekend for fall festivities and I felt inspired to prepare a simple layout.

Tuesday, October 18, 2011

Pumpkin Trio Card


So quick and easy!

Standard A2 sized card base in black.

The purple layer is a cheapie paper I got form the $1 spot at Target last year.  It's cut to 4 by 5 and 1/4 inches.

Before attaching that purple layer I wrapped some Shabby Crinkled Ribbon from Prairie Bird Boutique around it and tied it in a bow.  This color is from the Little Boo set. 

Under the ribbon I added s trip of green spiderweb paper by Recollections that had been punched with the Stampin' Up Scallop Edge border punch.

At the bottom of the card I stamped "Have a Spook-tacular Day" from the Pink By Design set A Haunting We Will Go.  I embossed it using some black embossing powder so that it shows up enough on the patterned paper, plus it just looks cool like that :)

For the image on the card I took 3 pumpkin embellishments from a Jolee's Boutique pack and added them to some green spiderweb paper - same as on the bottom.  Then I added that layer to a black piece of cardstock.  The black layer is about 1 and 1/8 by 3 and 1/4, but I just eyeballed it when I was cutting.

I finished off by going around the edges with some Starry Night Stickles.

Monday, October 17, 2011

Altered Wine Bottles


These were a total blast to put together!

These bottles are all empty, so I got to recycle something, but you could also use full wine bottles and actually serve them at a party.

On all 3 bottles I used Shabby Crinkle Ribbon from Prairie Bird Boutique.  The colors I used were from the Little Boo bundle.  

Also on all 3 bottles I used stamps from Pink By Design's A Haunting We Will Go set.  From left to right they read "You're Boo-tiful" "You're Purr-fect" and "Eek" These are all stamped onto paper that was sprayed with some Deep Plum Glimmer Mist.

The last thing that was used on all 3 bottles were some awesome keys from Martha Stewart.  They are really lightweight unlike real metal keys, but they have awesome color to them and they look pretty real to me.  They are attached with some embroidery floss.

On the first bottle I have also used a charm at the top that was made with inkjet printable Shrinky Dink material.  I do not know where the image came from as this charm was a gift from a friend.  I used a paper from a Recollections paper stack from last year and some green ribbon from Michael's.

On the second bottle I used more paper from last year's Recollections paper stack.  This one has kitty cats that are actually flocked (fuzzy to the touch.)

On the third bottle I used some paper from Target's $1 spot from last year.  I cut a spider from the Doodlecharms Cricut Cartridge at 1.75 inches.  I gave him some blinged out eyes using my Irock and placed a black ribbon string under him that looks sort of like a string he is hanging from.

So glad I got these done!